Objective: a tutorial for the staff of Shenandoah in processing and uploading new posts to The Peak.
The Peak is the blog-like supplement to the twice-yearly Shenandoah literary magazine.

Credit for the technical development of The Peak goes to the wonderful work of W&L undergrad Coletta Fuller, who adapted Shenandoah’s primary theme and provided the masonry layout for The Peak.
Each section of The Peak home page, which exists within the overall Shenandoah site, is a slender block containing an image, a category, headline, and an edited excerpt.

The entire block is coded as a link to the post for that entry.

What are the steps for transforming a submission for The Peak into an actual post on the site?
The Peak is published with the WordPress platform that uses a highly customized theme for styling aspects like line breaks and paragraph indents. Articles for The Peak are submitted as Word files.
Step 1: Access The Peak WP site
You will need login credentials on Shenandoah’s WP installation for this step.
Step 2: Add new post
Start the new post in WP. Paste in the title. Select the appropriate category, e.g., On Craft. Save draft of the post.
Step 3. Converting docx file to HTML
This is the most complicated step. You cannot just copy and paste the text from Word into WordPress and expect happiness. You will be disappointed by the formatting. Also, the default save as HTML in Word is not effective, either.
You should use pandoc to convert docx files to HTML. Pandoc is a freely available, command-line tool that converts documents between all sorts of formats.
Installing Pandoc: On a Mac, the easiest installation method is to download the pkg installer from the Pandoc site: https://pandoc.org/installing.html
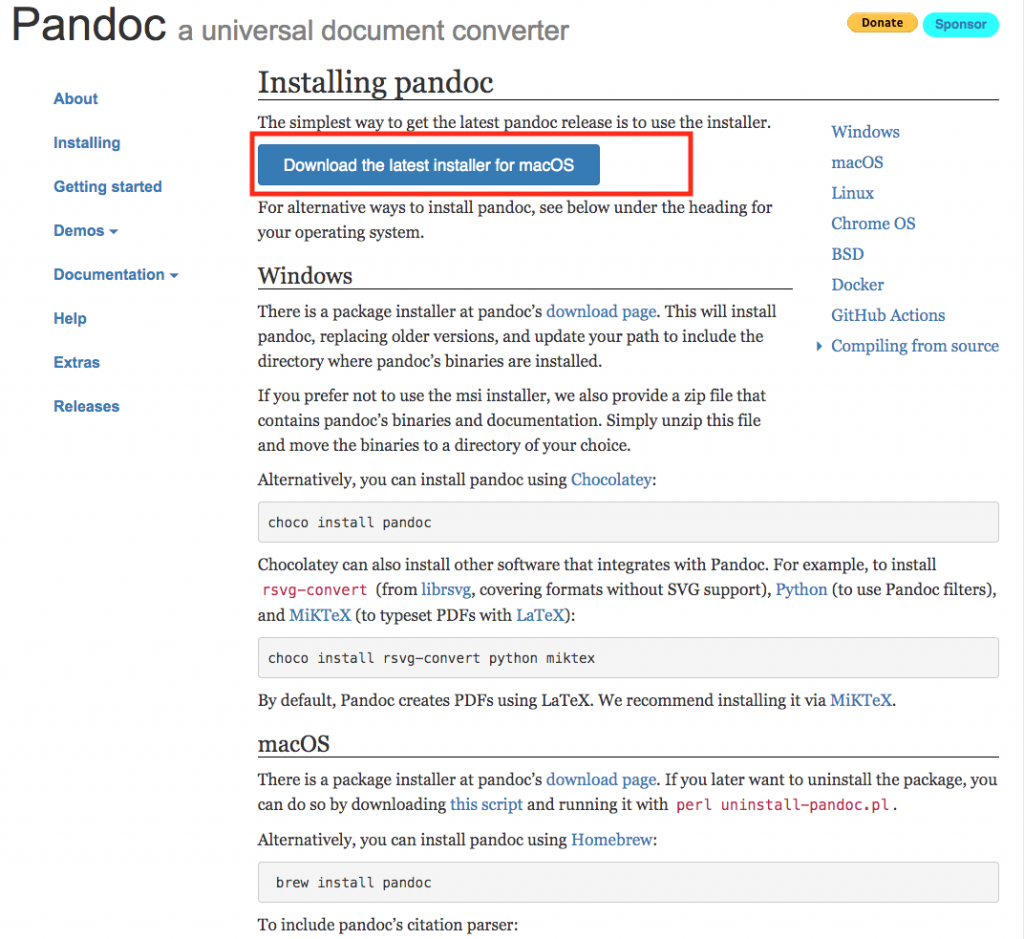
If you are using a Windows machine, then the page might look slightly different and you should follow the instructions for installing on Windows. The rest of this document will assume that you are using a Mac.
Install the package file that you downloaded from the pandoc site by double-clicking on the downloaded file. It should then walk you a self-explanatory set of steps to complete the installation.
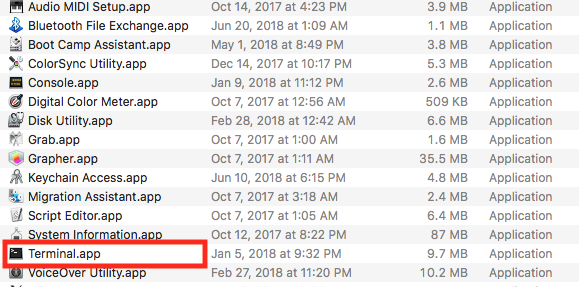
Ready? Is it installed? Unlike many apps, Pandoc has no graphical user interface. You will have to open up the Terminal app on a Mac and use the command-line. It’s easier than it sounds. On a Mac, the terminal app is in the Applications => Utilities folder.
Opening the terminal app will pop up the Terminal window. Your terminal app will look different than mine. Since I use the terminal app a lot, I’ve customized the colors and have a translucent background. But what you should be the same is in the upper left corner will be a prompt that ends in a $ sign. The prefix of the prompt will differ; it often displays the machine name and the username that is logged in.
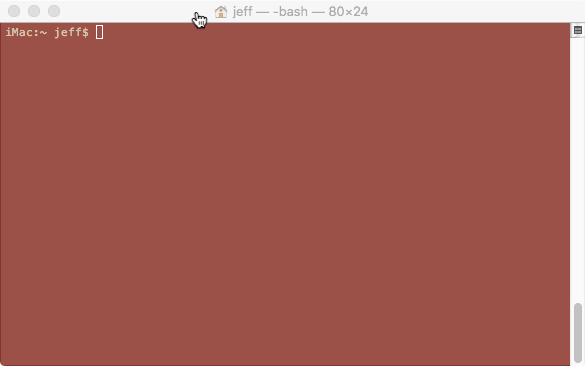
Place the cursor focus in the window with the mouse (or trackpad on a laptop) and click. This should bring the terminal app to the foreground so that you can type commands into the terminal app.
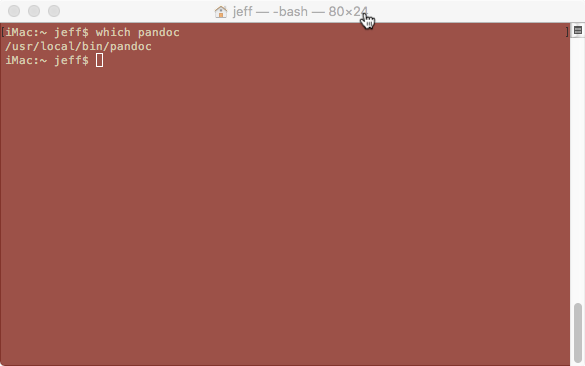
To see if you have installed pandoc successfully, you can type the command:
which pandoc
Hit return (or enter) after typing the command. The terminal should then display a line that provides the path to the application. The path displayed on your Mac might be slightly different than mine below. Don’t worry. The important thing is that a path appears. If you enter the command “which pandoc”, hit return, and nothings happens, then pandoc is not installed. If you have a problem installing pandoc, then that requires a consultation with someone more experienced.
Okay, let’s assume that pandoc installed correctly.
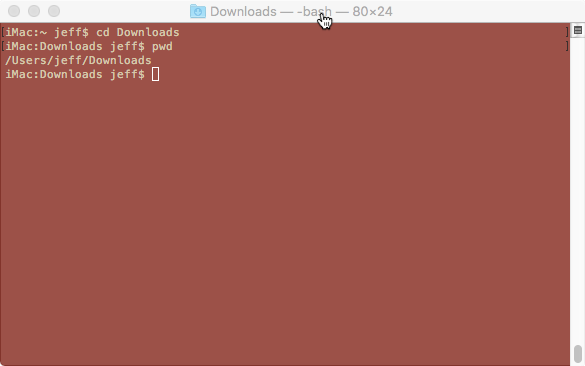
Locate your .docx file. For simplicity, let’s just say that the docx file you want to convert is in the Downloads folder. In that case, from the command prompt, you should be able to type cd Downloads, and hit enter. To ensure you are in the right directory, you can the command pwd, which means “print working directory”; this command will display the current directory you are in.
Important: the Word file MUST be a .docx file. (Note the x at the end of the file extension.) If it is a .doc file (no x), then you must open the file in Word and save it as .docx before proceeding.
The actual conversion: for this step, you must know the exact filename that you want to convert. If you have any spaces in the filename, then you must enclose the filename in quotation marks in the following command. Otherwise, an error will result. Note: on the command line, filenames are case sensitive.
To convert the file named “Weiden The Peak final.docx” to html, use the following command:
pandoc "Weiden The Peak final.docx" -t html -o weiden.html
If all is successful, after hitting enter, then nothing should appear to have happened. Huh? Yes, success is not getting an error message. If you just get the blank prompt, then the file probably converted successfully. To ensure that the file converted, you can list the filename on the screen by using the list command and the name of the html file: ls weiden.html
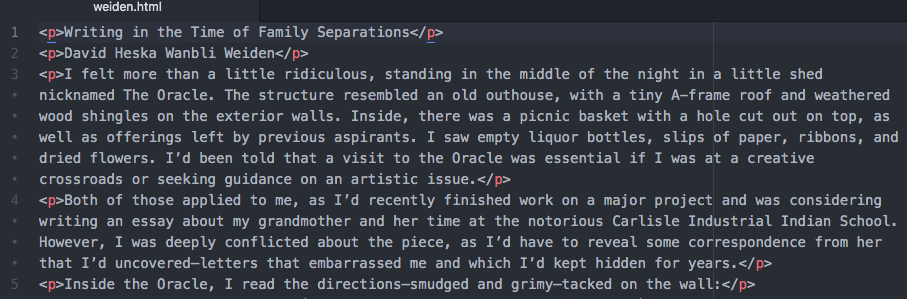
At this point, you can open the html file in a text editor. Do not use Notepad. You may want to download and use Atom (free), which is what I use though there are many other options. Here’s what our sample file looks like after the pandoc conversion from .docx to .html and opened in Atom (only part of the file is shown in the image below):
Step 4: Copying to WordPress
The hard part is now over.
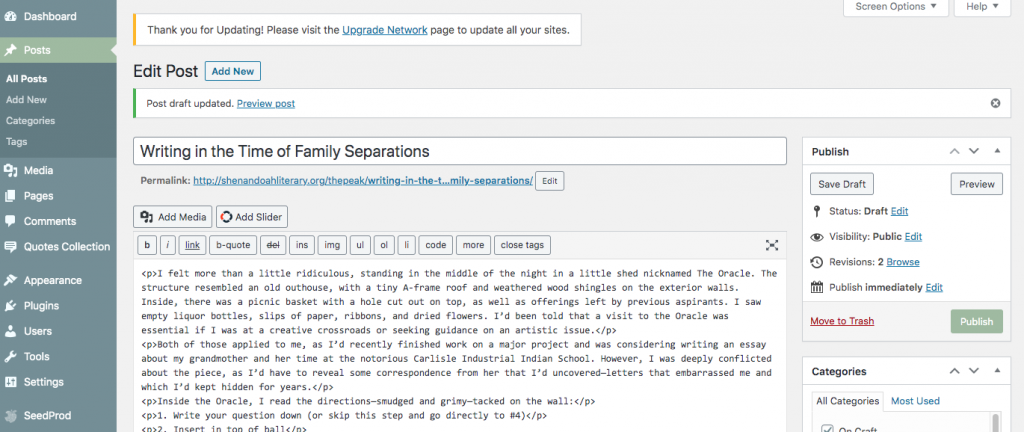
Next, you simply copy and paste the HTML, as shown above, from Atom (or another text editor) and paste into the editing space for the post you created in WordPress:
Save the draft.
Step 5: Adjusting the author name
By default, the author of the post in WordPress will be you. If the actual author has not yet published a piece in The Peak, then you will need to add the author information to The Peak user database. You can check to see if the author is already listed by opening up the dropdown menu in the Author section of the WP post, which is located towards the bottom of the screen:

If the author is already listed, then you can just select the author name and save post.